|
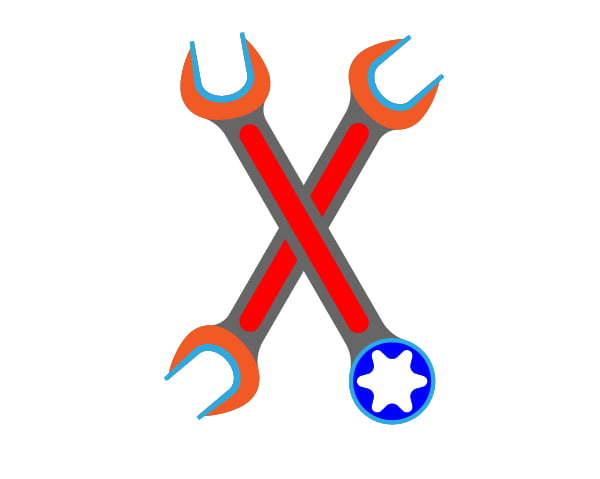
Final Image Preview
In this illustrator tutorial we will learn about the VectorScribe plugin - a perfect complement to Adobe Illustrator, and we will create an administrator icon. VectorScribe plugin is a powerful tool for contour editing, creating dynamic shapes and corner rounding. Try it, you will like it!
Tutorial Details
- Program: Adobe Illustrator CS3-5 + VectorScribe plugin;
- Difficulty: Beginner
- Estimated Completion Time: 30 - 60 minutes
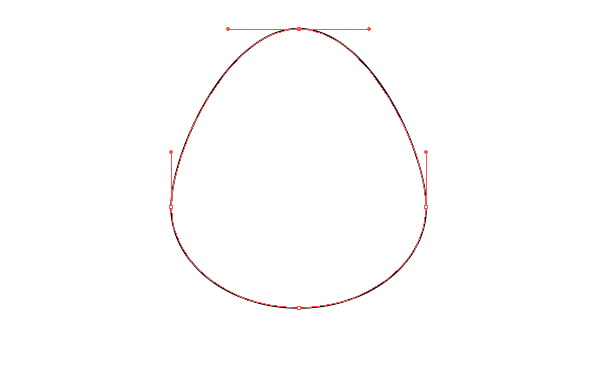
Step 1
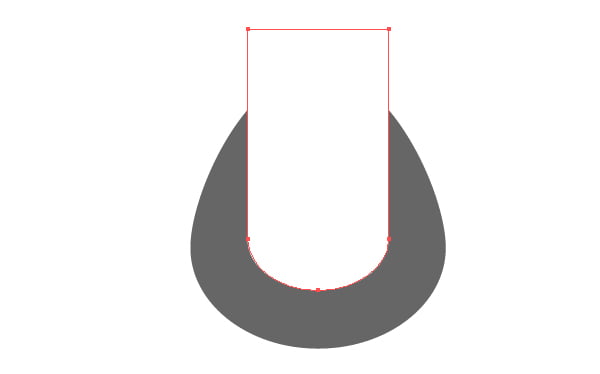
Take the Ellipse Tool (L) and create an ellipse, now shift its upper point with the Direction Tool (A) horizontally up to get a figure shown in the figure below.
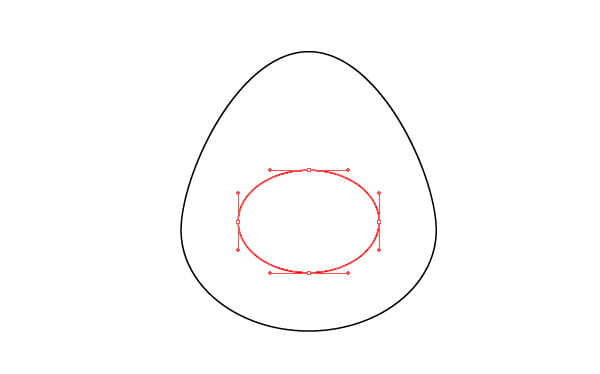
Create another ellipse smaller in size than the first one.
Step 2
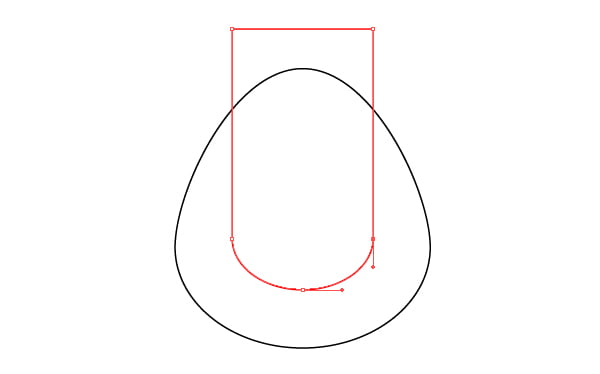
Take the Scissors Tool (C) and cut the ellipse at the extreme points, then select and delete its upper part.
Take the Pen Tool (P) and close the contour as it is shown in the figure below.
For convenience, activate the Smart Guides mode (Cmd / Ctrl + U). In order to see the correct wrench head shape, fill the created objects with different colors, it is better to fill the top object with white color.
The lower gray shape needs some correction.
Step 3
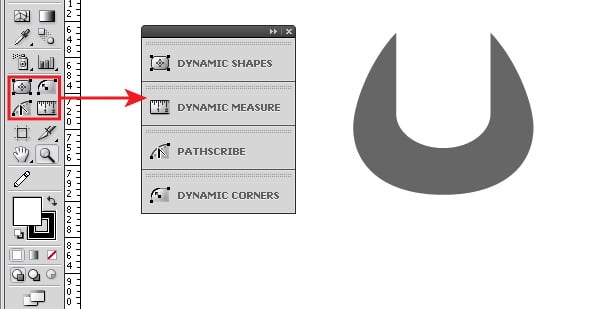
At this step, we will begin to get acquainted with some of the VectorScribe plugin tools and its properties. After installing the plug-in, its tools will appear in the sidebar and the palette will be available in the Windows menu.
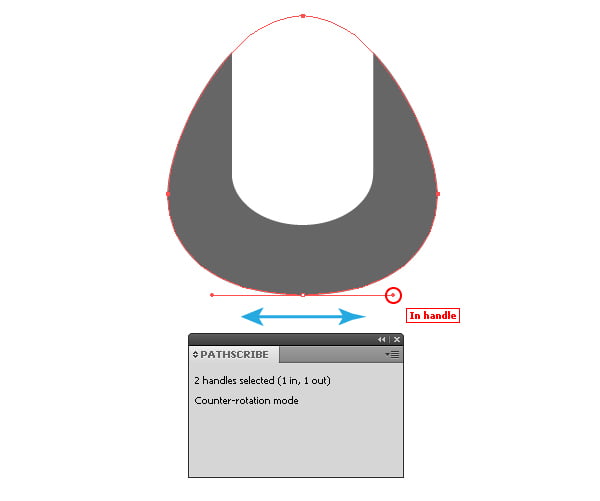
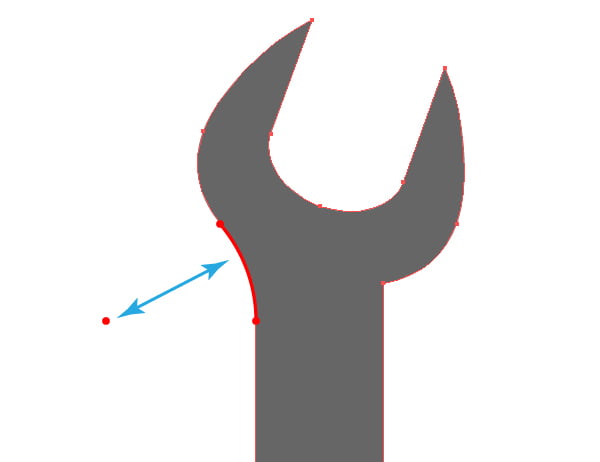
Take the PathScribe Tool and select both handles of the lower node of the gray shape. Now pull one of the handles to the side, the second handle will change its length simultaneously with the first one.
Yes, you’ve heard right, the PathScribe Tool allows you to select handles and operate them simultaneously. If while editing you hold down the Opt / Alt key, then the angle of node handles is fixed and it is only its length that changes. I remind that in the case with the Direction Tool (A) you can only fix horizontal and vertical movement of the handles, holding down Shift key.
Step 4
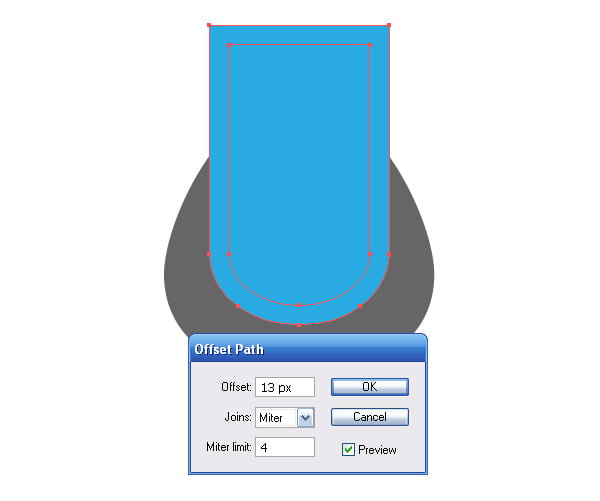
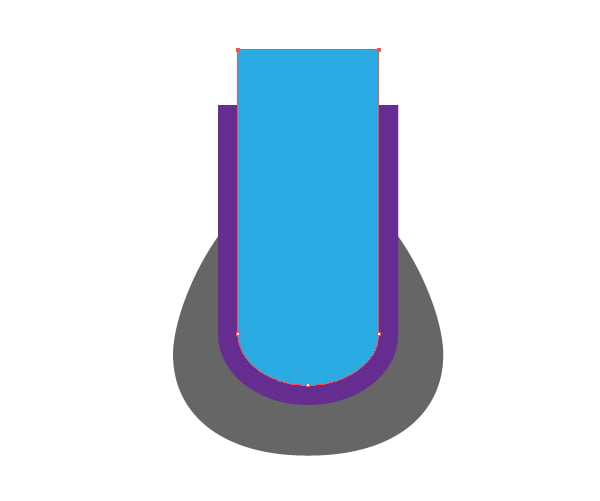
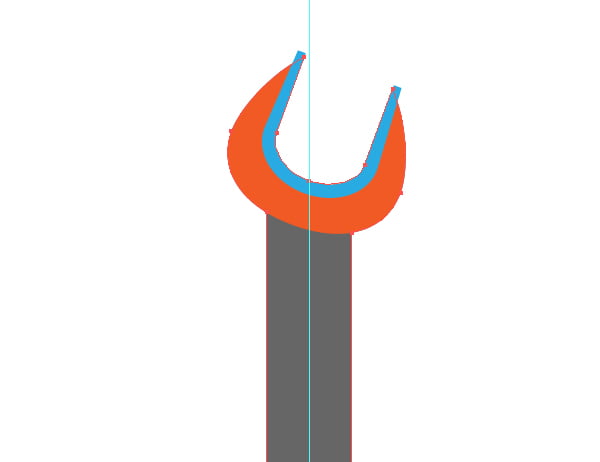
Select the upper shape, I repainted it in blue, and go to Object> Path> Offset Path and set 13 px value in the dialog box.
While, I always fill objects with different colors, so it is more convenient to operate them. Select the upper points of the blue shape with the help of the Direction Tool (A), move them vertically up so that they go beyond the edges of the bottom purple figure.
Step 5
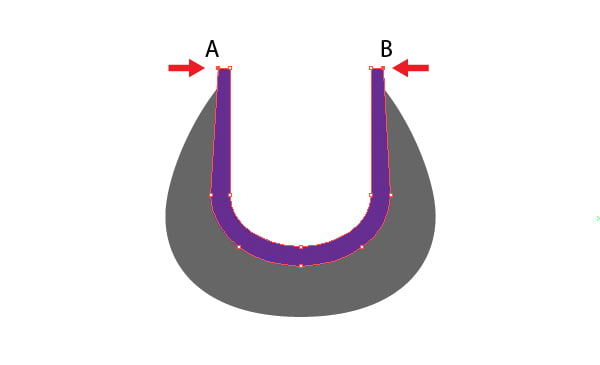
Select the purple and blue shapes then click on the Minus Front button from the Pathfinder palette.
As a result we get a horseshoe-shaped object.
Take the Eraser Tool and holding down Opt / Alt, remove the upper shape of the horseshoe shape.
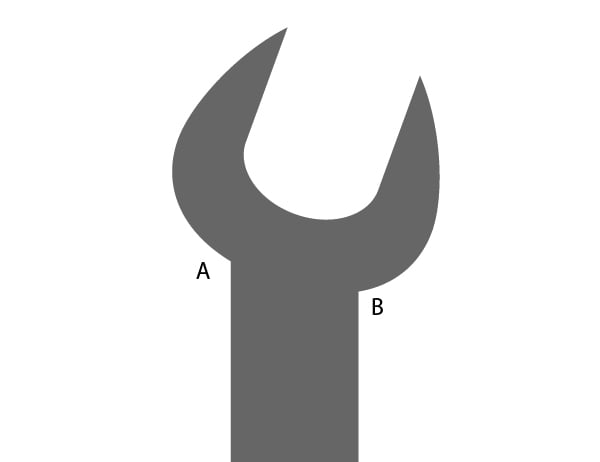
Shift a little bit the points A and B to the vertical center line of the spanner.
Step 6
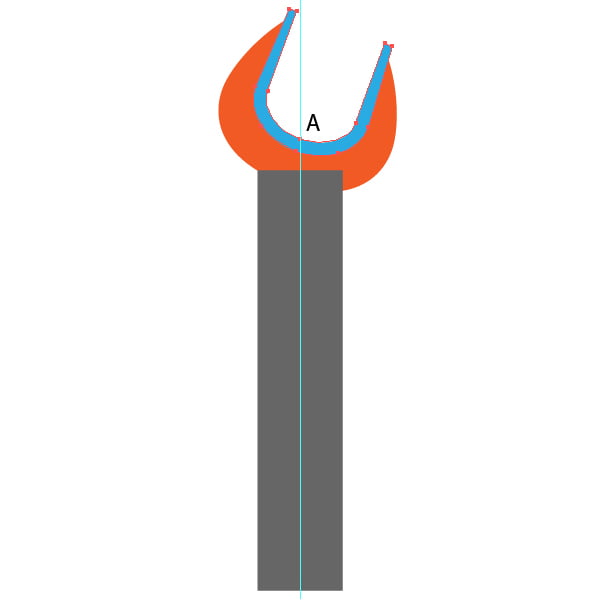
Select the created objects, and go to Object> Transform> Rotate …, set the rotation angle -20 degrees in the dialog box.
Create a vertical guide passing through point A, then take the Rectangle Tool (M) and create a rectangle and place it so that its center was lying on the vertical guide.
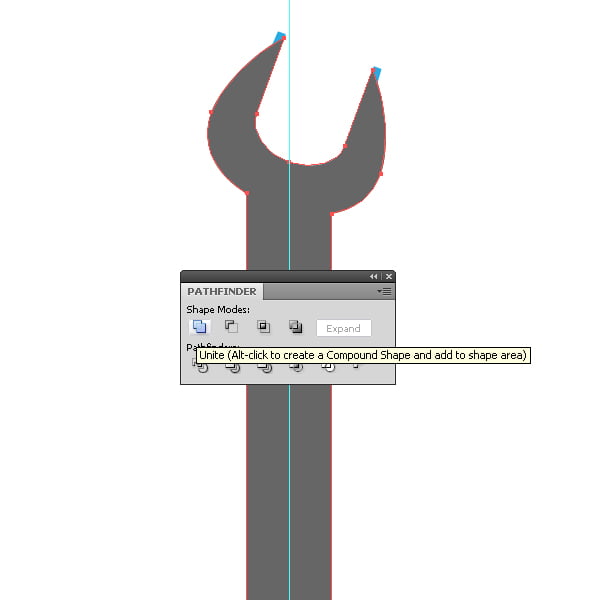
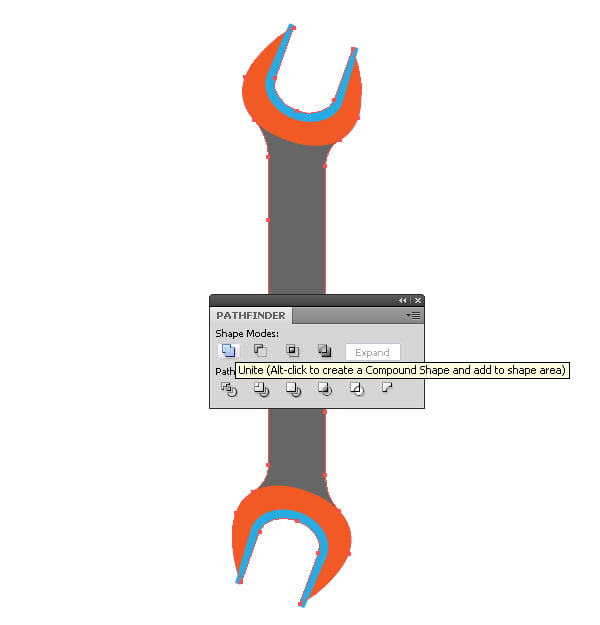
Copy the orange head of the wrench and paste it in front (Cmd / Ctrl + C; Cmd / Ctrl + F), select the rectangle and the upper orange shape, click on the Unite button from the Pathfinder palette.
Move the created shape below all the objects (Cmd / Ctrl + [).
Step 7
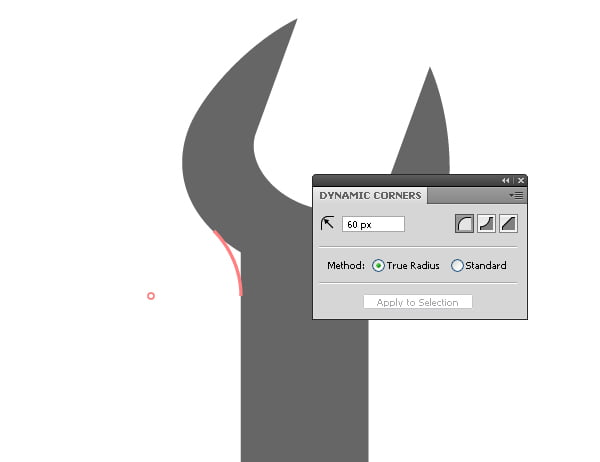
We need to get a smooth transition of the head key into its handle in the section A and B. For display purposes the visibility of the upper objects is turned off in the Layers palette.
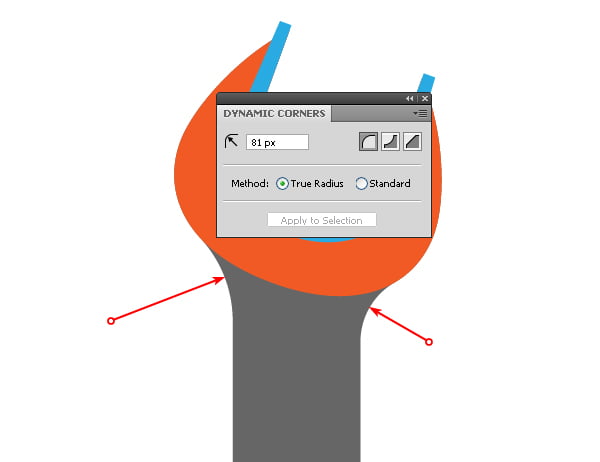
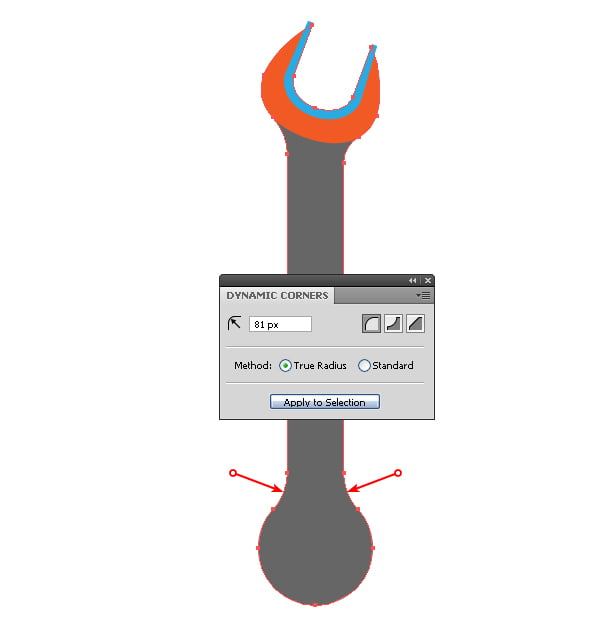
Coupling objects are very difficult to perform with traditional tools of the Adobe Illustrator. Let's see how VectorScribe plugin can help us with it. The Dynamic Corners Tool is designed for such-like purposes. Take this tool and bring it to the place of coupling, the object can stay unselected.
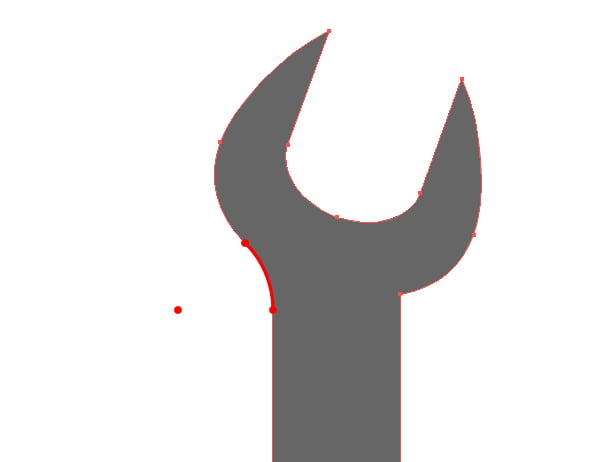
We can see immediately how the place of coupling will look like after applying the Dynamic Corners Tool. The radius of the rounding can be set in the Dynamic Corners palette. Click on the corner and the figure obtains the desired shape.
And after the tool is applied, we can operate the radius of rounding, to do this you need to move the marker of the center of the coupling circle.
In this simple way we got the perfect coupling.
Step 8
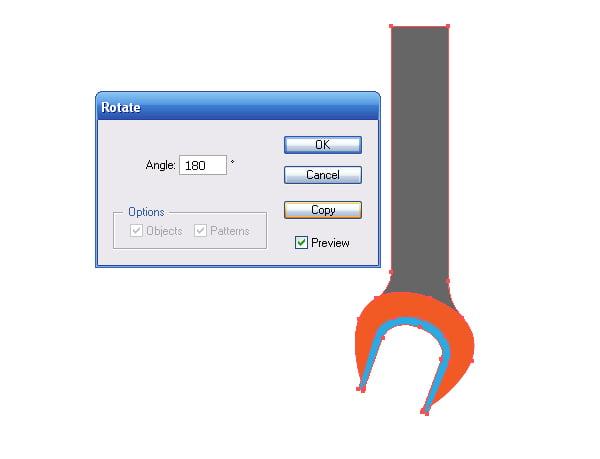
Select all the created objects and go to Object> Transform> Rotate … and set the rotation angle of 180 degrees in the dialog box, click on the Copy button.
Combine the two parts of the wrench as it is shown below.
Step 9
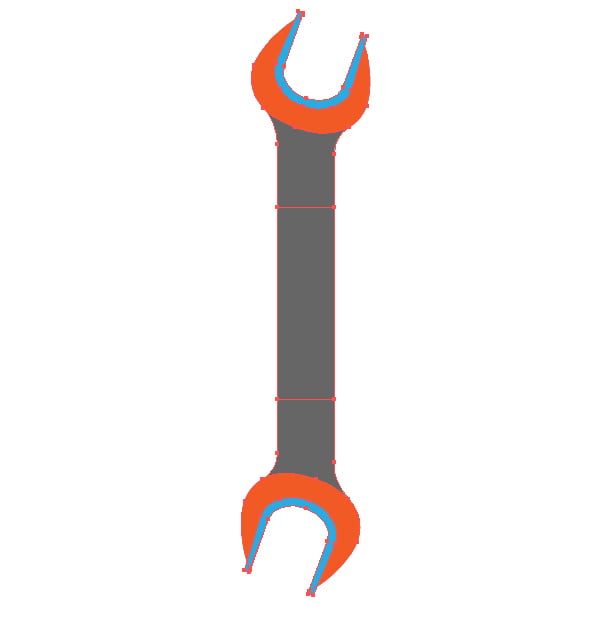
Select both parts of the wrench handle and connect them by pressing the Unite button from the Pathfinder palette.
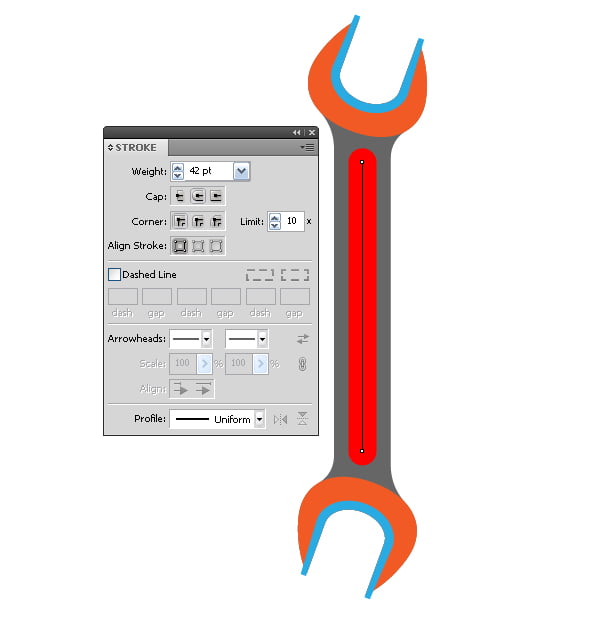
Now create a notch on the handle of the wrench, take the Pen Tool (P) and create a vertical line so that it passes through the center of the handle. Set line thickness and its type in the Stroke palette.
Keep this line selected, go to Object> Expand. Basic elements of the first wrench of administrator icon are ready.
Step 10
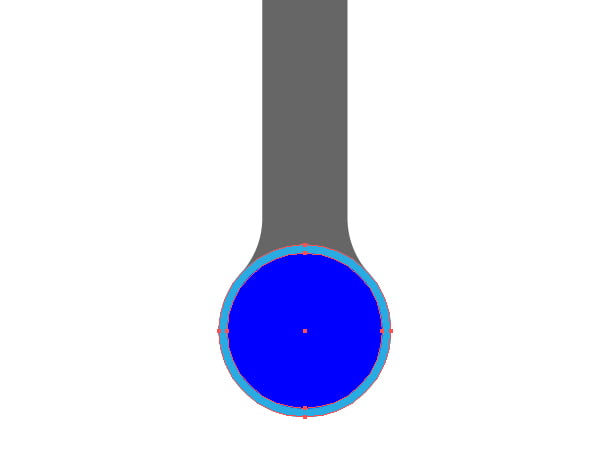
Proceed to creation of the second spanner for our admin icon. The lower part of the second spanner will represent a box wrench. Create a circle using the Ellipse Tool (L) at the bottom part of the wrench, connect it to the handle using the Pathfinder palette. To couple the handle and the head of the wrench, use the Dynamic Corners Tool.
Using the Ellipse Tool (L), create two more circles, as shown in the figure below.
Step 11
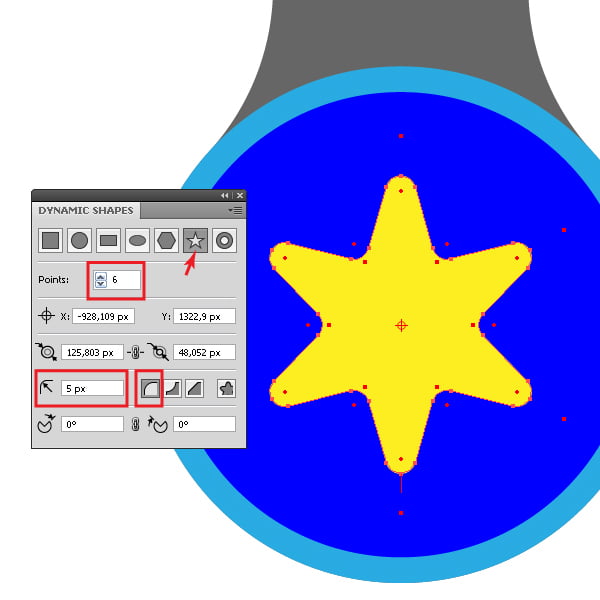
Now create teeth of the box wrench which will be holding the nut. Creating all sorts of stars, it's really strong point of the VectorScribe plugin. To create teeth, use the Dynamic Shapes Tool, the settings of the tool are shown in the figure below, in the Dynamic Shapes palette.
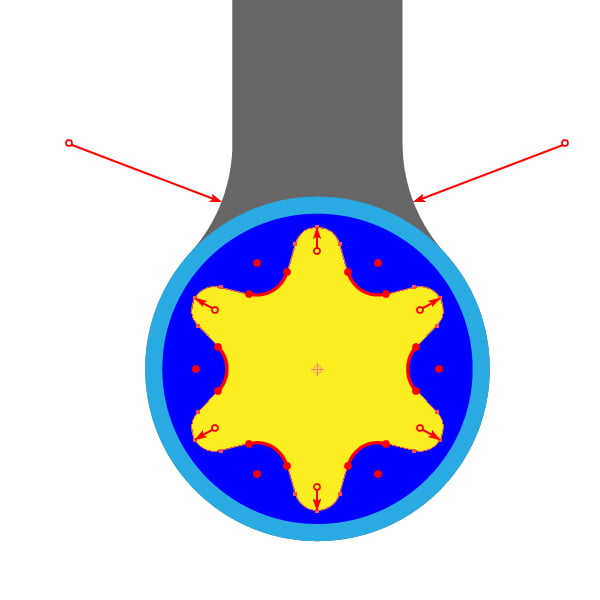
Star can have sharp, rounded ends or cut along the straight line. You can also control the size of the star itself and the height of its teeth, operating the markers that appear when you select this tool. You can also operate radii of rounding of the created star using the Dynamic Corners Tool. If you select a few radii holding down the Shift key, then their value will change simultaneously while editing.
Step 12
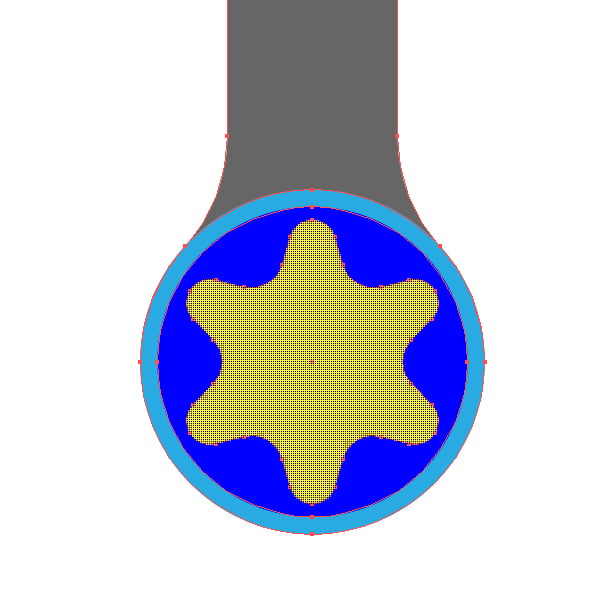
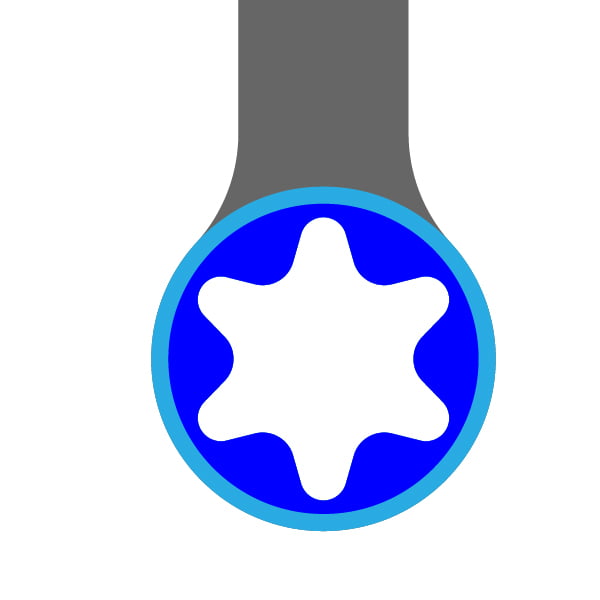
Box wrench should have a cut in a shape of a yellow star, make it. Select all the elements which should have a hole (a handle and two circles) and the shape of a star, take the Shape Builder Tool and holding down the Opt / Alt, click on a star shape.
Basic elements of the second wrench for administrator icon are ready.
Step 13
Rotate both wrenches at 30 degrees clockwise and counterclockwise, and create a simple composition.
Step 14
I think you can easily fill wrenches elements using linear and radial gradients containing shades of gray color. I got it like that.
I’m not a possessor of ultimate truth, so you can do it your way.
Step 15
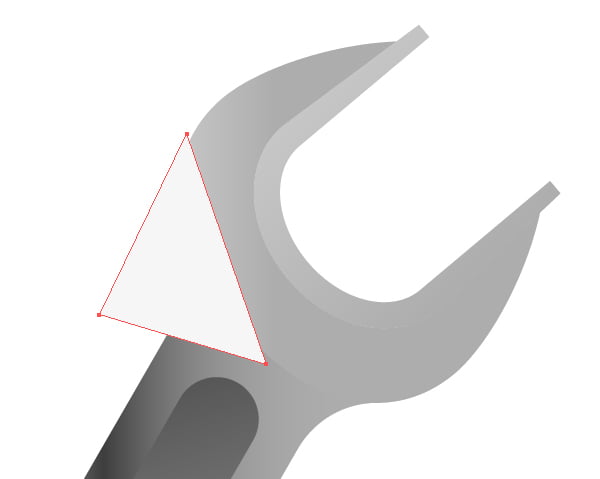
In order to bring metal objects to life, you need to add glares of light on their edges. And here the VectorScribe plugin will help us again. Let's take a look at the technique of creating glare. With the help of Pen Tool (P), create a shape filled with light gray or white at the place of the supposed glare, as it is shown below.
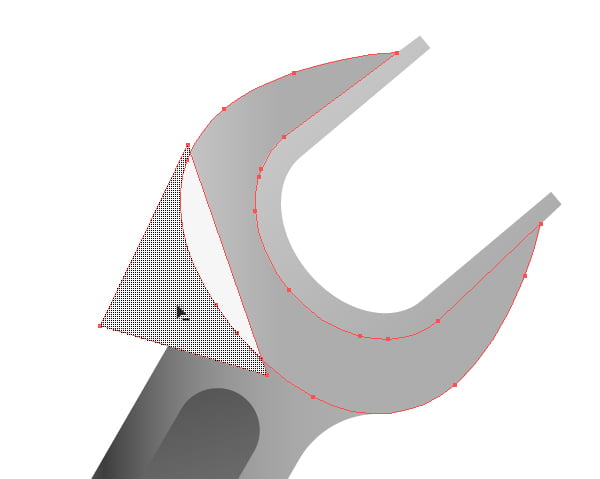
Select the surface on the edge of which the glare will be located and the created shape, take the Shape Builder Tool and holding down the Opt / Alt, delete the part of the figure that goes beyond the outline of the lower object.
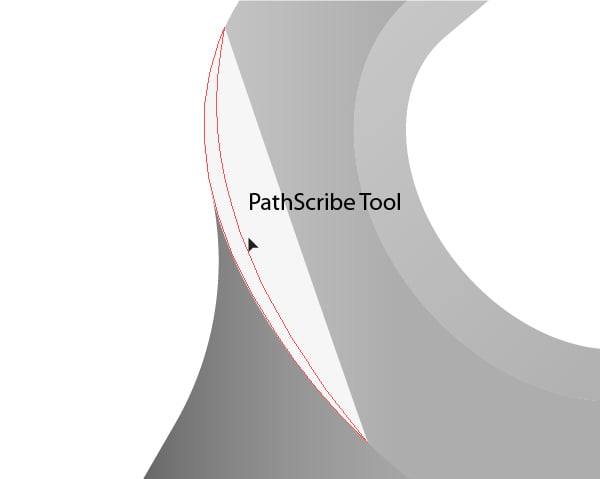
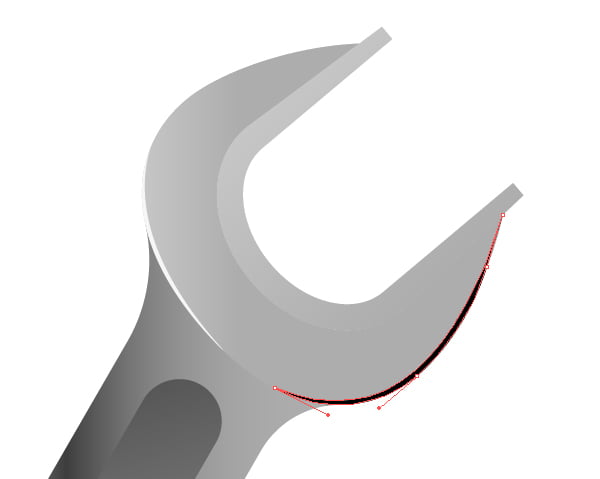
Now we take PathScribe Tool, seize and bend the straight part of the outline of the glare.
If necessary, adjust the shape of the bend, operating the handles of the extreme points of the glare. Also create anti-glare on the edges of metal surfaces. These are black or dark gray objects located on the edges opposite to the light. Technique of their creation is the same as glare creating one.
And this is how the wrenches look like after creating glare and anti-glare on some of their edges.
Step 16
Our wrenches will be on the shield. I made a short movie about how to apply VectorScribe plugin for creating of these shapes.
Conclusion
In this small tutorial we created the administrator icon, and I did not cover all the wonderful opportunities of the VectorScribe plugin. You know, you quickly get used to good things, I do not know how I’ve done without this excellent complement to Adobe Illustrator before. Try it and you'll understand what I’m talking about.
Having downloaded the original file, you can closely learn about the technology of creation of the administrator icon.
Final Image
You can also read my article "Icon Design — Basic Concepts and Rules" and download "Free Vector RSS Icons for Your Web Sites"
Follow us if you want to be the first to know about the latest Adobe Illustrator tutorials and articles. Vectorboom team works for you!
|