|
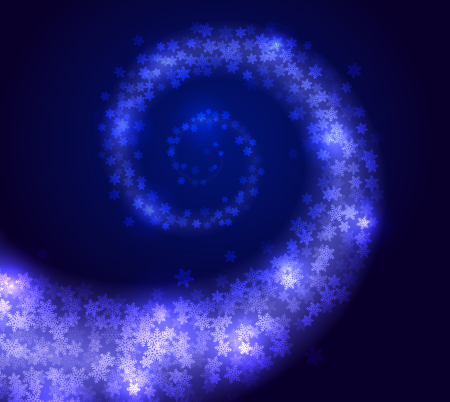
In this tutorial we will learn how to quickly distribute a bunch of objects along a path of arbitrary shape. Combining Gradient on Stroke feature and Phantasm plug-in allows us to influence the size of distributed objects, subjecting them to the law of linear perspective. To create the effect of aerial perspective, we use the Opacity Mask. Let’s get started!
Step 1
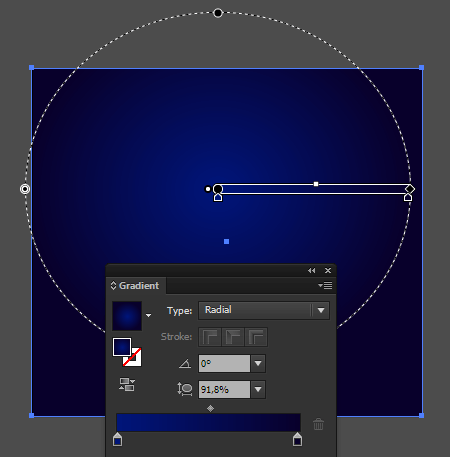
Create a rectangle which size corresponds to the size of an artboard, and fill it with a radial gradient from blue to dark blue color.
Now, with the help of the Spiral Tool create a spiral without a fill and with a stroke of any width and color. Place a spiral as shown in the picture below.
Step 2
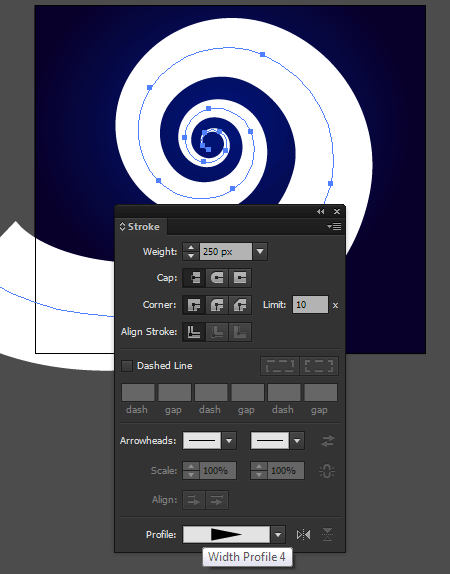
Apply the Width Profile 4 to the spiral and increase the width in the Stroke panel.
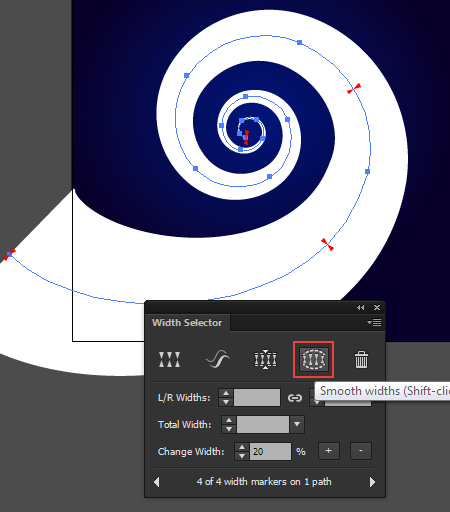
Adjust spiral shape using the Width Selector Tool (Width Scribe). This tool can add, move and release markers width. Width Selector panel is designed to control the parameters of markers (Window > WidthScribe > Width Selector panel). In addition to convenient control over the width here I also used Smooth widths function, which allows to achieve a smooth transition between the width markers. Width Selector Tool is more convenient and flexible tool compared to native Width Tool.
Copy the spiral and paste it in front (Cmd / Ctrl + C; Cmd / Ctrl + F). Turn off the visibility of the original spiral in the Layers panel. Later we will get back to this object.
Step 3
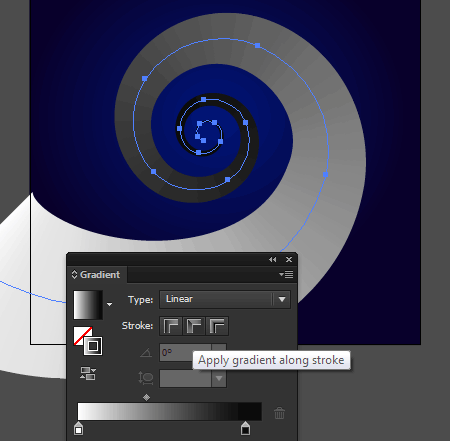
Apply to the variable width path the Gradient Along Stroke from white to black. This type of gradient is available in the latest releases of the application, starting from Adobe Illustrator CS6.
Step 4
Create the shape of snowflakes, similar to one shown in the picture below. To create these objects it is very convenient to use MirrorMe plug-in, which allows you to dynamically draw symmetrical objects with multiple axes of reflection.
You can read full version of this tutorial on AstuteGraphics.com....
|