|
In this tutorial you will learn how to create a textured light and shadow using native functions of Adobe Illustrator. We will generate organic vector texture and apply it to objects. Knowledge gained today will help your retro-style illustrations look more natural. You can also apply the resulting grainy texture in typography and logo design.
Create textured brush
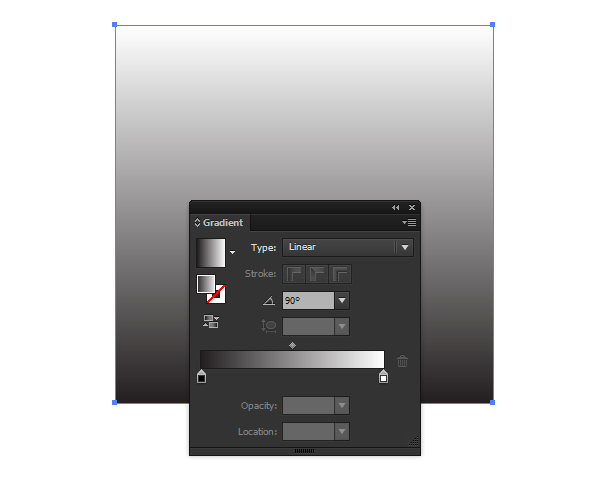
Step 1
Create a rectangle using the Rectangle Tool (M) and fill it with vertical black-and-white linear gradient.
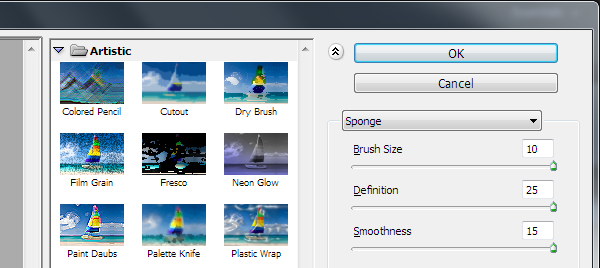
Go to Effect> Artistic> Sponge … and set the parameters shown in the picture below.
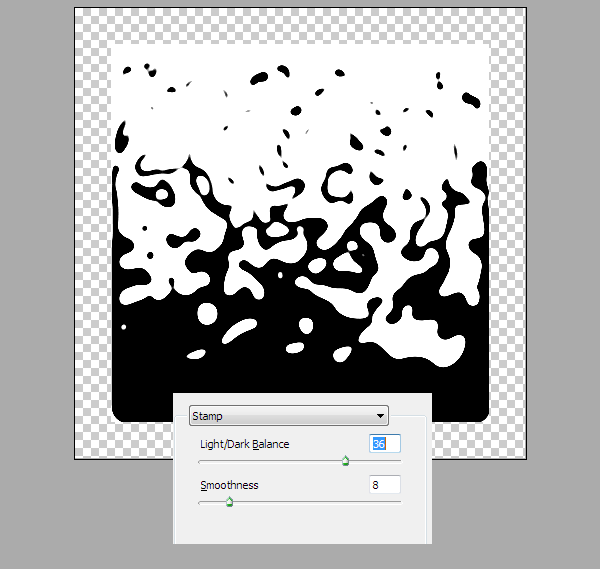
Now go to Effect> Sketch> Stamp … and pick the effect parameters in order to obtain something like this …
Of course, you can use other parameters for the applied effects. I want to remind you that you can access options of any effect in the Appearance panel (Window> Appearance).
Step 2
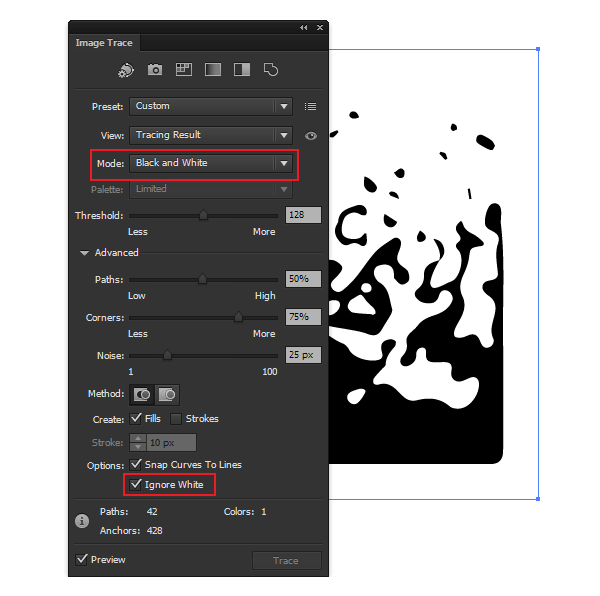
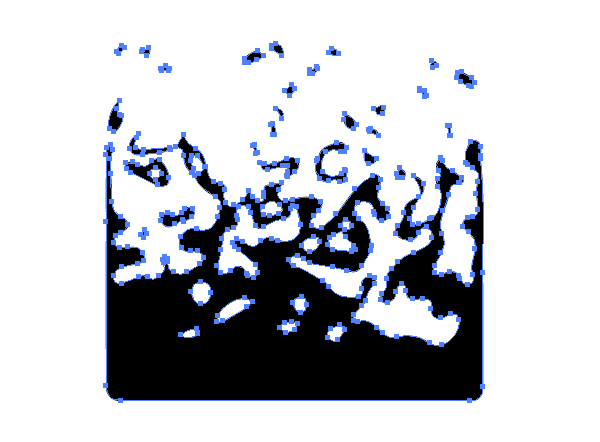
Go to Object> Expand Appearance. Open the Image Trace panel (Window> Image Trace …), if you are working with Adobe Illustrator CS6-CC2014. If you are using earlier releases of the application, then go to Object> Live Trace> Tracing Options .... Select Black & White preset and tick Ignore White option, then clicking on the Trace button.
Now click on the Expand button in the Control panel. As you can see, we got a group of vector objects.
Step 3
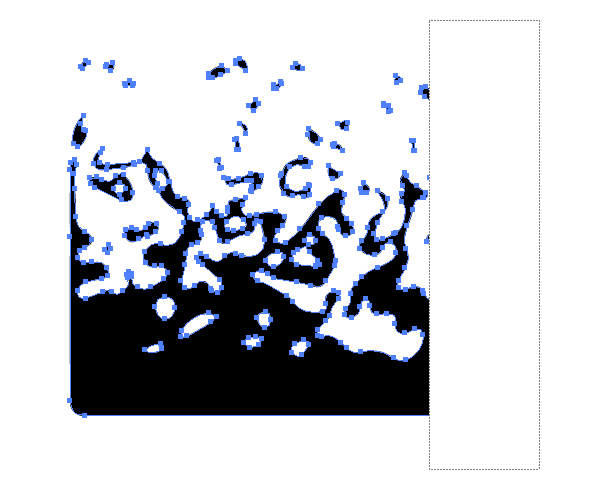
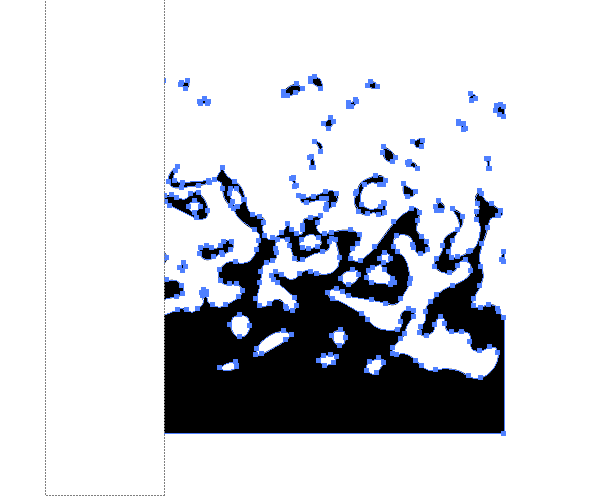
Take the Eraser Tool (Shift + E), hold down the Option / Alt, erase some of the objects on the left and right in order to remove the rounded corners.
Step 4
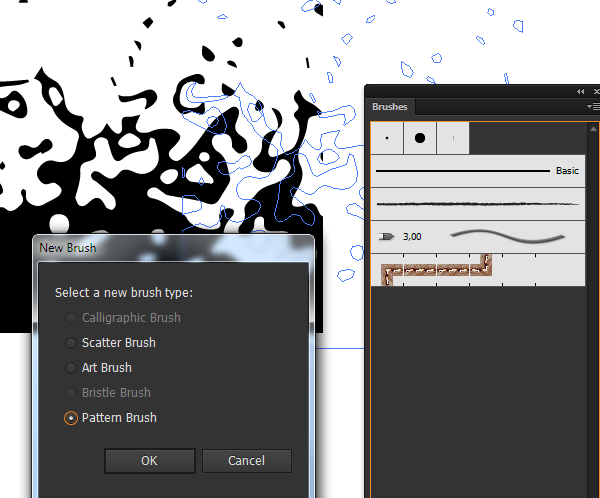
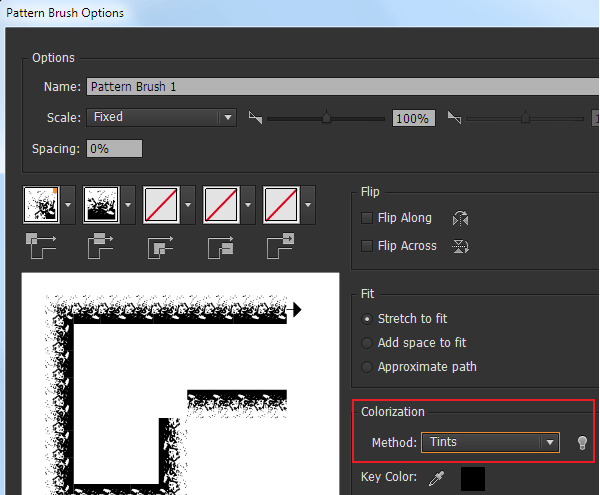
Drag the entire group into the Brushes panel (Window> Brushes) and select the Pattern Brush in the opened dialog window.
Choose Colorization Method: Tintsin the Pattern Brush Options dialog window. This will allow us to color brush with the color of the stroke.
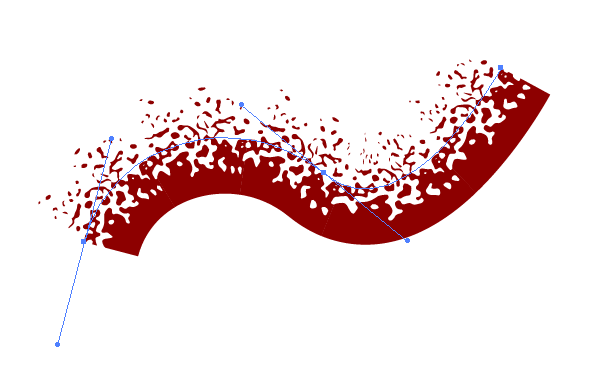
To test it, apply your brush to an arbitrary path.
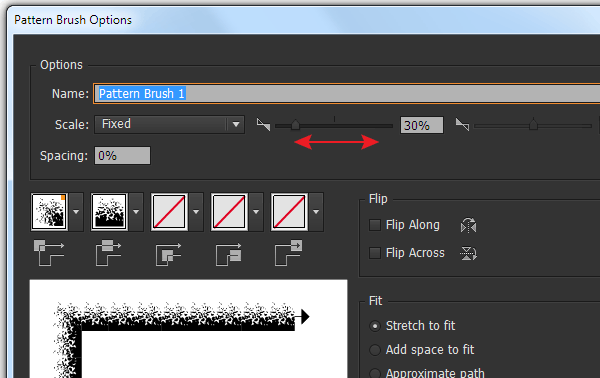
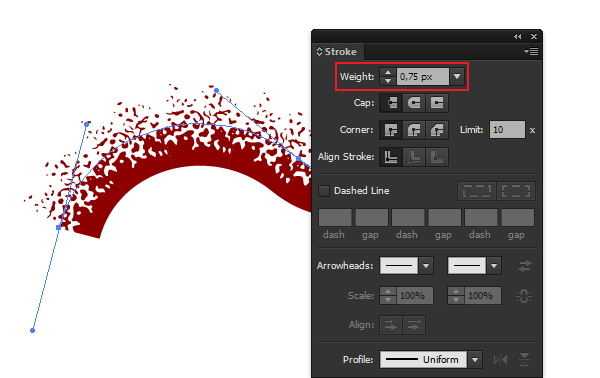
There are two ways to control the size of the brush. You can change the Scale parameter in the Pattern Brush Options dialog window or change the stroke width in the Stroke panel.
Create textured shadows and highlights
Step 5
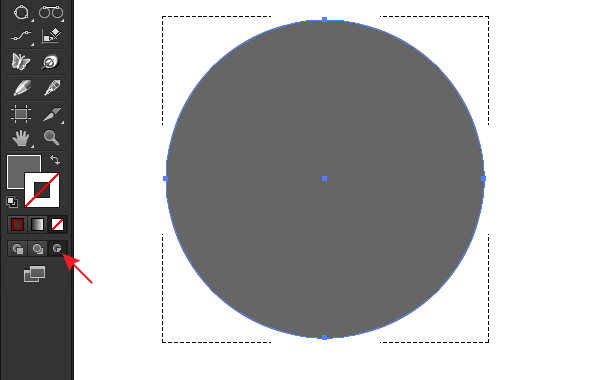
Create a simple object, for example a circle, we will be practicing on it. Press the Draw Inside button in the Tools panel. This mode allows you to automatically create a Clipping Mask, which means that all the objects or their parts will be invisible outside the selected shape, which is circle in this case.
Step 6
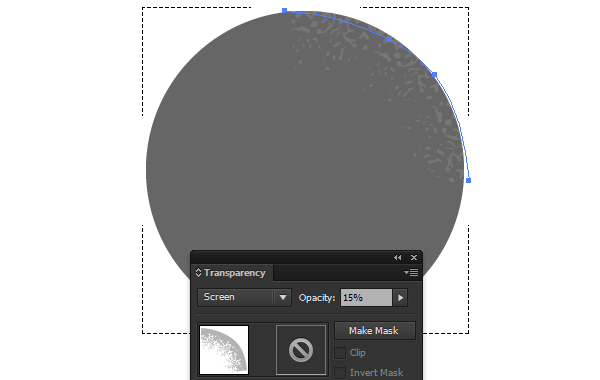
Choose a neutral gray color for the stroke, set the Screen blending mode and reduce the opacity in the Transparency panel. Screen blending mode is typically used to create highlights on objects. Choose a textured brush in the Brushes panel, take any drawing tool, such as Paint Brush (B), and create a stroke along the edge of the circle.
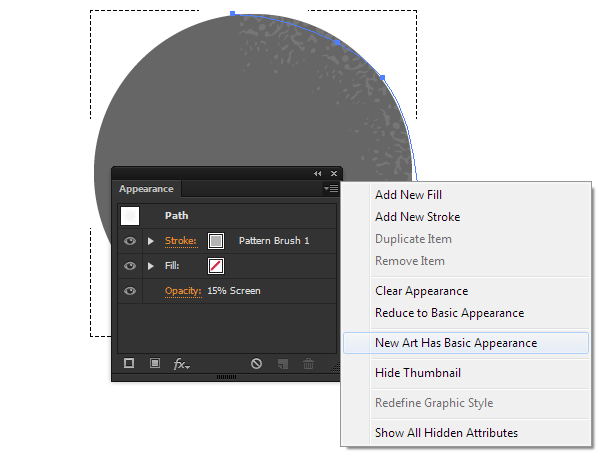
In order all the brush strokes have the same properties as the first one, untick the New Art Has Basic Appearance in the fly-out menu of the Appearance panel.
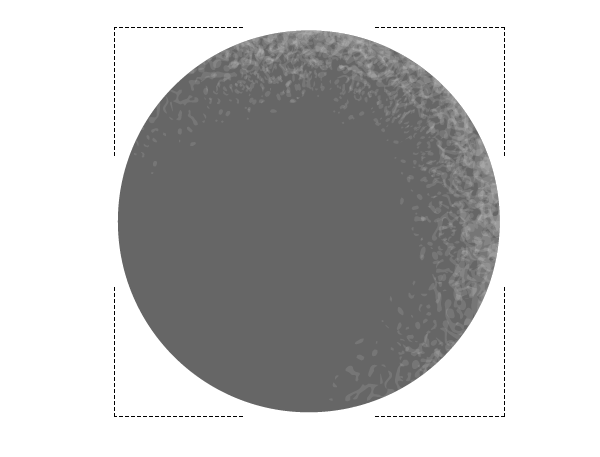
A few more strokes of the brush and textured highlight is ready.
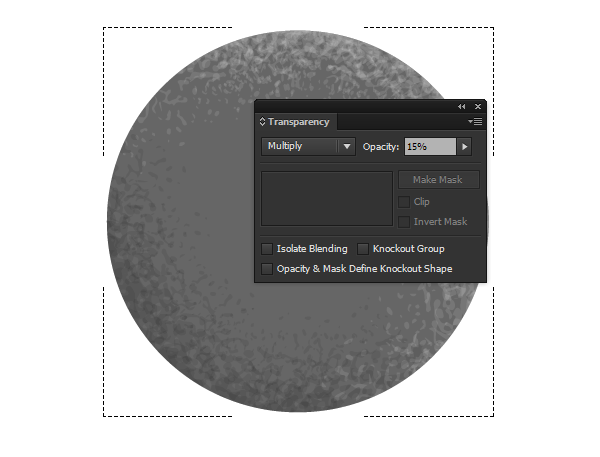
Step 7
To create a textured shadow simply select Multiply blending mode in the Transparency panel and make the stroke color slightly darker.
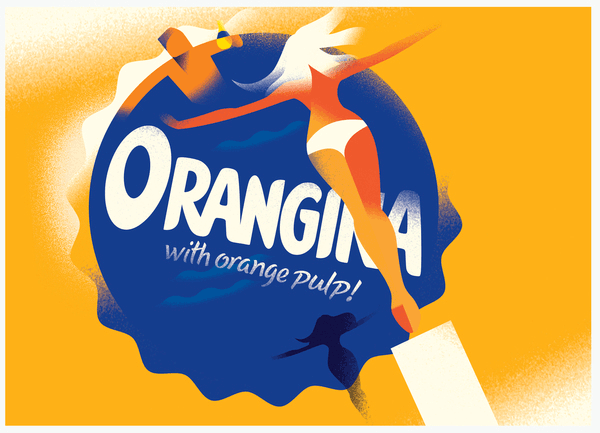
By the way it is not necessary to decrease the opacity of the brush. In this case, you will get a more contrasting and classic textured shadow in retro style. Below you can see great examples of the use of light and shadow texture.
You can also download a free Vector Grain Brushes pack, which I created using the techniques of this tutorial.
|