|
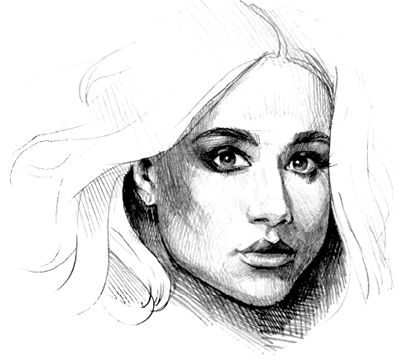
Royal Wedding Fever swept the nation in the UK this spring and Meghan Markle is the lady of the moment. With this in mind we decided to celebrate our new Duchess with a vector portrait.
Today you will find out how to create this portrait of Meghan Markle whilst learning all about the tools that helped to speed up the work. These are WidthScribe for intelligent work with variable width paths and Phantasm for creating halftone textures. In addition, I used DynamicSketch, VectorScribe and Texturino, which have long been part of my workflow in Adobe Illustrator.
I will be creating a portrait of Meghan Markle based on a pencil sketch, kindly provided by Timmy Turner.
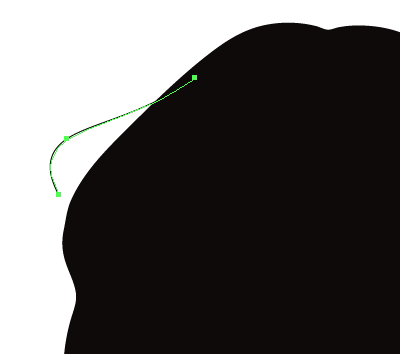
To begin, create a rough hair silhouette using the Pencil Tool or DynamicSketch Tool.
Then make the silhouette of the hairstyle more detailed by adding curls. For these purposes I will be using the WidthScribe plug-in to create a path that will set the direction of the hair.
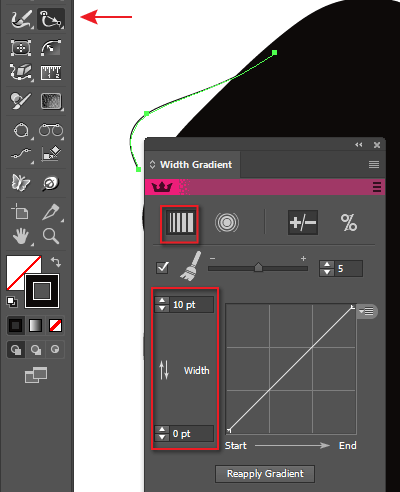
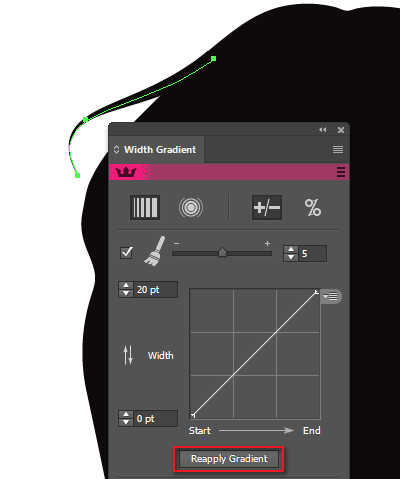
Take the Width Gradient Tool in the Tools panel (this will open the toolbar) and set the minimum and maximum widths and select the linear gradient type here.
Now extend the gradient from the beginning to the end of the selected path.
If you need to change the width of the path, enter the new parameters in the Width Gradient panel and click on the Reapply Gradient button.
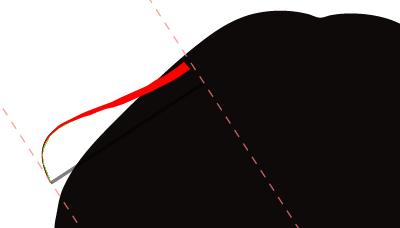
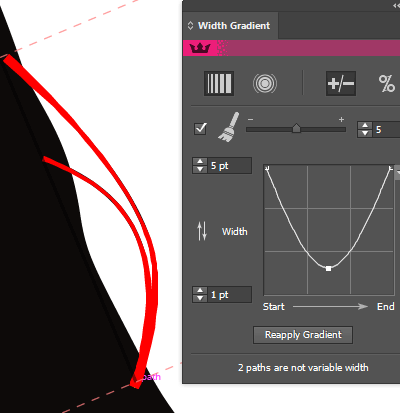
You can change the width of the path according to the graph in the panel. For example, add a new point to a rectilinear graph by simply clicking at the right place, then bend the graph in the shape of the letter U. Width Gradient can be applied to several paths that should have a similar shape.
Create the rest of the curls in this way. This is a faster and more convenient way than creating similar shapes using the Pen Tool or the Paintbrush Tool, by changing the pressure on the Wacom pen.
Draw the shape of the face and shoulder.
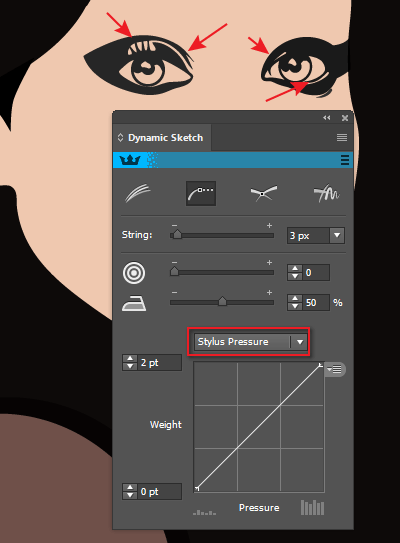
Let's create the shape of the eyes. They consist of objects with fill and variable stroke paths. I created them by setting the Pressure option in the tool panel of DynamicSketch.
You can read full version of this article on AstuteGraphics.com....
|